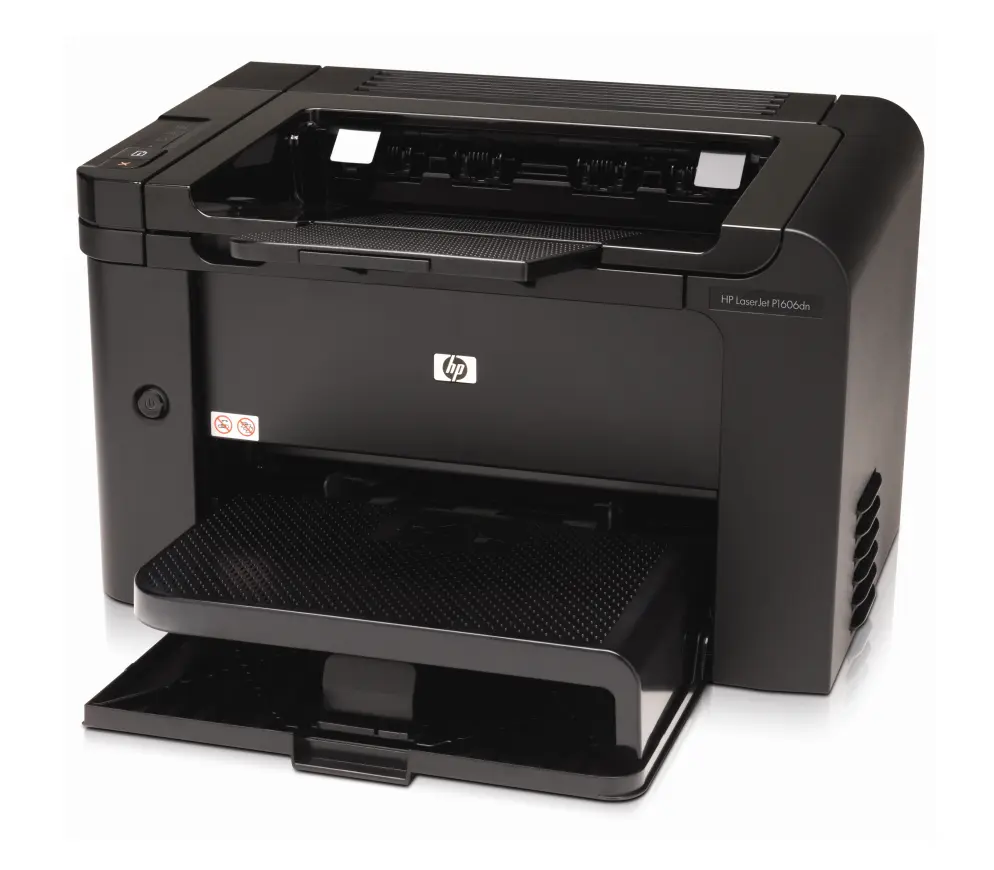
Setting up a printer on a network can be a daunting task, but with the right guidance, it can be a smooth and straightforward process. In this article, we will guide you through the steps to configure the HP LaserJet P1606dn on a network.
Step 1: Gather the Necessary Information
Before you begin the configuration process, it's essential to gather all the necessary information. This includes the network name (SSID) and password, as well as the IP address of your router. You can usually find this information on the back of the router or in the router's administration panel.
Step 2: Connect the Printer to the Network
Start by connecting the HP LaserJet P1606dn to your network. Make sure the printer is turned on and has paper loaded. Use an Ethernet cable to connect the printer to your router. Insert one end of the cable into the Ethernet port on the back of the printer and the other end into an available Ethernet port on your router.
Once the printer is connected, it will automatically obtain an IP address from your router. This IP address is essential for accessing the printer's administration panel and configuring its network settings.
Step 3: Access the Printer's Web Interface
To configure the network settings of the HP LaserJet P1606dn, you need to access its web interface. Open a web browser on your computer and enter the IP address of the printer in the address bar. Press Enter to load the printer's web interface.
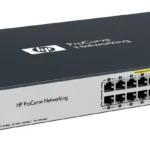
 Hewlett packard network printer ports: understanding and troubleshooting
If you don't know the IP address of the printer, you can find it by printing a configuration page. Press and hold the go button on the printer for five seconds until the printer's attention light blinks. A configuration page will be printed, which contains the IP address.
Step 4: Configure the Network Settings
Once you have accessed the printer's web interface, navigate to the network settings section. Here, you can configure the printer's IP address, subnet mask, and default gateway. Make sure to set these values according to your network's configuration.
Additionally, you can also set a hostname for the printer, which will make it easier to identify on the network. Choose a name that is descriptive and easy to remember.
Step 5: Install the Printer Driver
After configuring the network settings, it's time to install the printer driver on your computer. Visit the official HP website and search for the driver for the LaserJet P1606dn model. Download the driver that matches your operating system.
Once the driver is downloaded, double-click on the file to begin the installation process. Follow the on-screen instructions to complete the installation. Make sure to select the network installation option and choose the printer from the list of available devices.
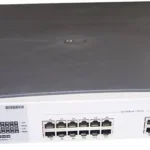
 Hewlett packard pro curve m j9145a: powerful networking solution
Frequently Asked Questions
Q: Can I connect the HP LaserJet P1606dn to a wireless network?
A: No, the LaserJet P1606dn model does not have built-in wireless capabilities. It can only be connected to a network using an Ethernet cable.
Q: How do I find the IP address of my router?
A: The IP address of your router can usually be found on the back of the router or in the router's administration panel. Consult your router's manual for more information.
Q: Can I configure the printer's network settings using a USB cable?
A: No, the HP LaserJet P1606dn must be connected to the network using an Ethernet cable to configure its network settings.
Configuring the HP LaserJet P1606dn on a network is a straightforward process that involves connecting the printer to the network, accessing its web interface, configuring the network settings, and installing the printer driver on your computer. By following these steps, you can easily set up the printer and enjoy its features on your network.
 Hp procurve switch 2424m: performance & security features