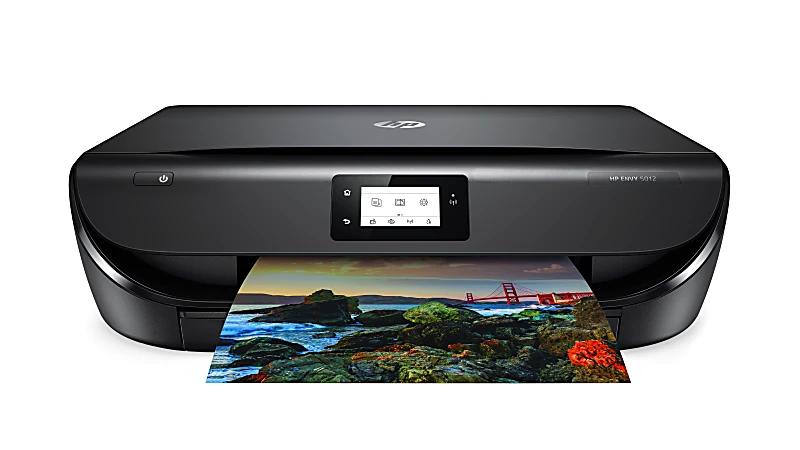
Are you looking to connect your HP Envy 5012 printer to your computer? Look no further! In this article, we will guide you through the process of connecting your printer to your computer and installing the necessary drivers.
Step 1: Check Your System Requirements
Before you begin, it is important to ensure that your computer meets the system requirements for the HP Envy 5012 printer. The printer is compatible with both Windows and Mac operating systems. Make sure that your computer has the necessary specifications to support the printer.
Windows:
- Operating System: Windows 10, 1, 8, 7 (32-bit or 64-bit)
- Processor: 1 GHz 32-bit (x86) or 64-bit (x64) processor
- RAM: 2 GB (32-bit) or 4 GB (64-bit)
 Hp envy 5640: ultimate printer for your printing needs
- Hard Disk Space: 5 GB available
- Internet Connection: Required for software installation
Mac:
- Operating System: macOS High Sierra (13), macOS Sierra (12), OS X El Capitan (11)
- Processor: 2 GHz or faster
- RAM: 4 GB
 Troubleshooting hewlett packard printer printhead issues
- Hard Disk Space: 5 GB available
- Internet Connection: Required for software installation

Step 2: Connect Your Printer
Now that you have confirmed that your computer meets the system requirements, let's move on to connecting your HP Envy 5012 printer to your computer.
- Ensure that your printer is powered on and in a ready state.
- Connect the printer to your computer using a USB cable. If your printer supports wireless connectivity, you can also connect it wirelessly.
- Wait for your computer to recognize the printer. It may take a few moments for the connection to be established.
Once the connection is established, you can proceed to install the necessary drivers.
 Troubleshooting guide for hewlett packard printers in error state
Step 3: Install the Drivers
Installing the drivers is crucial for your computer to communicate with the HP Envy 5012 printer. Follow the steps below to install the drivers:
- Visit the official HP support website ( https://support.hp.com/ )
- Search for the HP Envy 5012 printer drivers by entering the model number or selecting the printer model from the list.
- Choose the appropriate operating system and version of your computer.
- Click on the download button to start downloading the drivers.
- Once the download is complete, locate the downloaded file and double-click on it to begin the installation process.
- Follow the on-screen instructions to complete the installation.
After the installation is complete, your computer will be able to communicate with the HP Envy 5012 printer, and you will be able to print, scan, and perform other functions as needed.
Frequently Asked Questions
Q: How do I find the model number of my HP Envy 5012 printer?
A: The model number is usually located on the front or top of the printer. It may also be found on the back or bottom of the printer.
Q: Can I connect my HP Envy 5012 printer wirelessly?
A: Yes, the HP Envy 5012 printer supports wireless connectivity. Follow the instructions provided in the printer's manual to connect it wirelessly to your computer.
Q: Do I need to update my printer drivers regularly?
A: It is recommended to regularly update your printer drivers to ensure optimal performance and compatibility with the latest software updates.
 Revolutionizing printing: hp printers in 1995
In Conclusion
Connecting your HP Envy 5012 printer to your computer and installing the necessary drivers is a straightforward process. By following the steps outlined in this guide, you can easily set up your printer and start using it for all your printing needs.
Remember to regularly update your printer drivers to ensure the best performance and compatibility. If you encounter any issues during the installation process, refer to the HP support website or contact HP customer support for assistance.