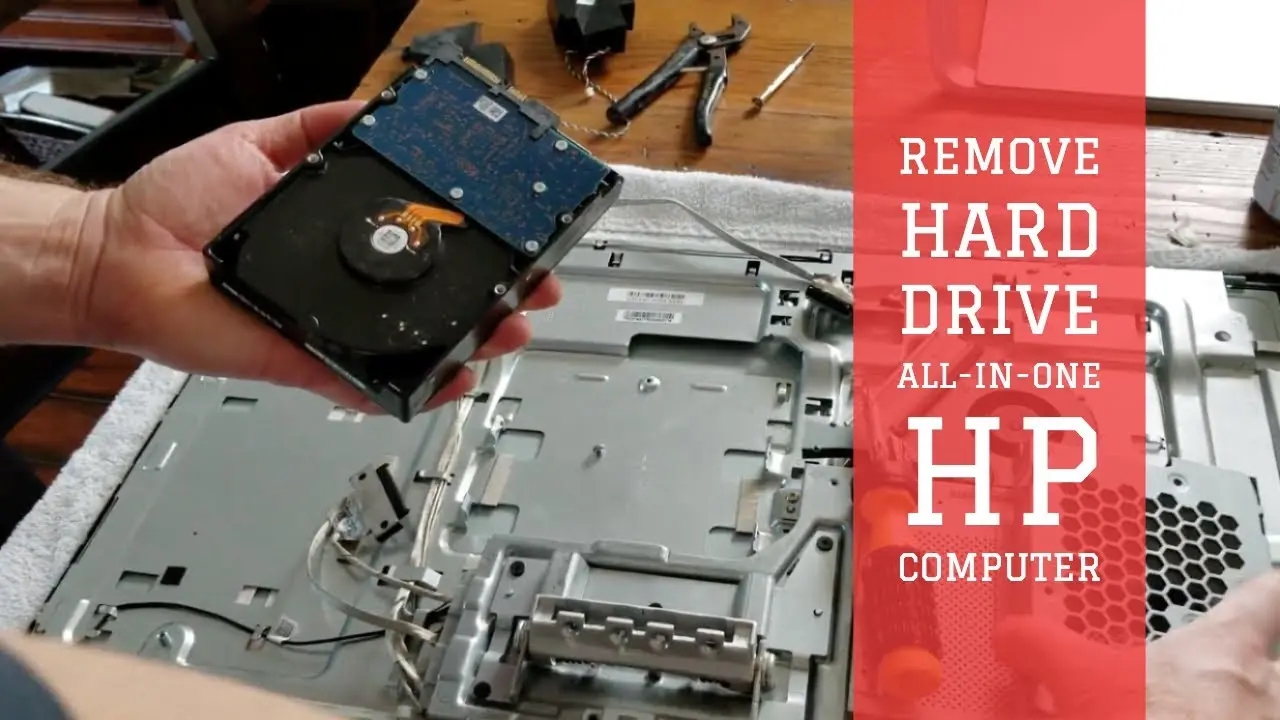
If you're looking to add more storage space to your Hewlett Packard (HP) desktop computer, installing a new hard disk drive (HDD) is a simple and efficient solution. Whether you want to increase the capacity of your computer or replace a faulty HDD, this guide will walk you through the process step by step.
Can I Add an HDD to My Desktop?
Yes, you can add an HDD to your HP desktop computer. The majority of HP desktops come with slots specifically designed to accommodate additional hard drives. This means that you can easily expand your storage capacity without having to replace your existing HDD. However, it's important to check your specific HP model and its specifications to ensure compatibility.
Is It Hard to Install a New Hard Drive?
Installing a new hard drive in your HP desktop is not a difficult task. With the right tools and following the proper steps, you can complete the installation process in no time. Before you begin, make sure you have an appropriate HDD that matches the specifications of your HP desktop. Additionally, ensure that you have a compatible SATA cable and power cable.
Step 1: Prepare Your Work Area
Before you start installing the new HDD, it's important to prepare your work area properly. Make sure you have a clean and well-lit space to work in. Gather all the necessary tools and components, including a screwdriver, SATA cable, and power cable.
Step 2: Shut Down and Unplug Your Desktop
Prior to opening your desktop case, shut down your computer and unplug it from the power source. This is crucial to prevent any electrical hazards and ensure your safety during the installation process.
 Replacing hewlett-packard 5188-2625 power supply: step-by-step guide
Step 3: Open the Desktop Case
Locate the screws or latches on your desktop case that secure the side panel. Use a screwdriver or release the latches to remove the side panel and gain access to the internal components of your desktop.
Step 4: Locate the Drive Bay
Identify the drive bay where you will install the new HDD. In most HP desktops, the drive bays are located towards the front of the case. You may need to consult your HP desktop's user manual for the exact location.

Step 5: Mount the HDD
Take your new HDD and position it in the drive bay. Align the screw holes on the sides of the HDD with the corresponding holes in the drive bay. Use screws to secure the HDD in place, ensuring it is firmly attached.
Step 6: Connect the Cables
Locate the SATA data ports and power ports on your motherboard. Connect one end of the SATA cable to the SATA data port on the motherboard and the other end to the SATA port on the HDD. Similarly, connect one end of the power cable to the power port on the motherboard and the other end to the power port on the HDD.
 Replacing fan on hp compaq 6200 pro sff pc
Step 7: Close the Desktop Case
Once you have connected the cables, carefully close the desktop case by aligning the side panel with the case and securing it with the screws or latches. Ensure that the panel is properly closed to avoid any loose connections or damage to the internal components.

Step 8: Power On and Initialize the HDD
Plug in your desktop and power it on. Once your computer has booted up, you will need to initialize and format the new HDD. To do this, go to disk management in your computer's settings and follow the on-screen instructions to initialize and format the HDD. Once completed, your new HDD will be ready to use.
Adding an HDD to your Hewlett Packard desktop computer is a straightforward process. By following the steps outlined in this guide, you can easily install a new hard drive and expand your storage capacity. Remember to always consult your HP desktop's user manual for specific instructions and compatibility information.
 Replacing hewlett-packard 5188 power supply: a step-by-step guide