If you own a Hewlett Packard Pro 400 M425dn printer, you may eventually need to replace the drum. The drum is a critical component of the printer that transfers toner onto the paper. Over time, the drum can wear out or become damaged, leading to poor print quality or other issues. In this article, we will guide you through the process of replacing the drum in your Hewlett Packard Pro 400 M425dn printer.
Step 1: Prepare for Replacement
Before you begin the drum replacement process, make sure to gather all the necessary supplies. You will need a replacement drum unit compatible with the Hewlett Packard Pro 400 M425dn printer model. It is important to use a genuine HP drum or a high-quality compatible drum to ensure optimal performance and longevity.
:
- Q: Can I use a drum unit from a different printer model?
- A: No, it is crucial to use a drum unit specifically designed for the Hewlett Packard Pro 400 M425dn printer model to ensure compatibility and proper functioning.
Step 2: Open the Printer
To access the drum unit, you need to open the printer. Start by turning off the printer and disconnecting the power cord. Wait for the printer to cool down before proceeding.
Locate the printer's front cover and gently open it. You should see the toner cartridge and the drum unit assembly.
Step 3: Remove the Toner Cartridge
Before you can remove the drum unit, you need to remove the toner cartridge. Hold the toner cartridge by its handle and lift it straight up to detach it from the drum unit. Set the toner cartridge aside in a safe place.
Step 4: Remove the Drum Unit
Once the toner cartridge is removed, you can proceed to remove the drum unit. Hold the drum unit by its handles and pull it towards you. Be careful not to touch the drum surface, as it is sensitive to light and can be easily damaged.
Set the old drum unit aside and prepare the new drum unit for installation.
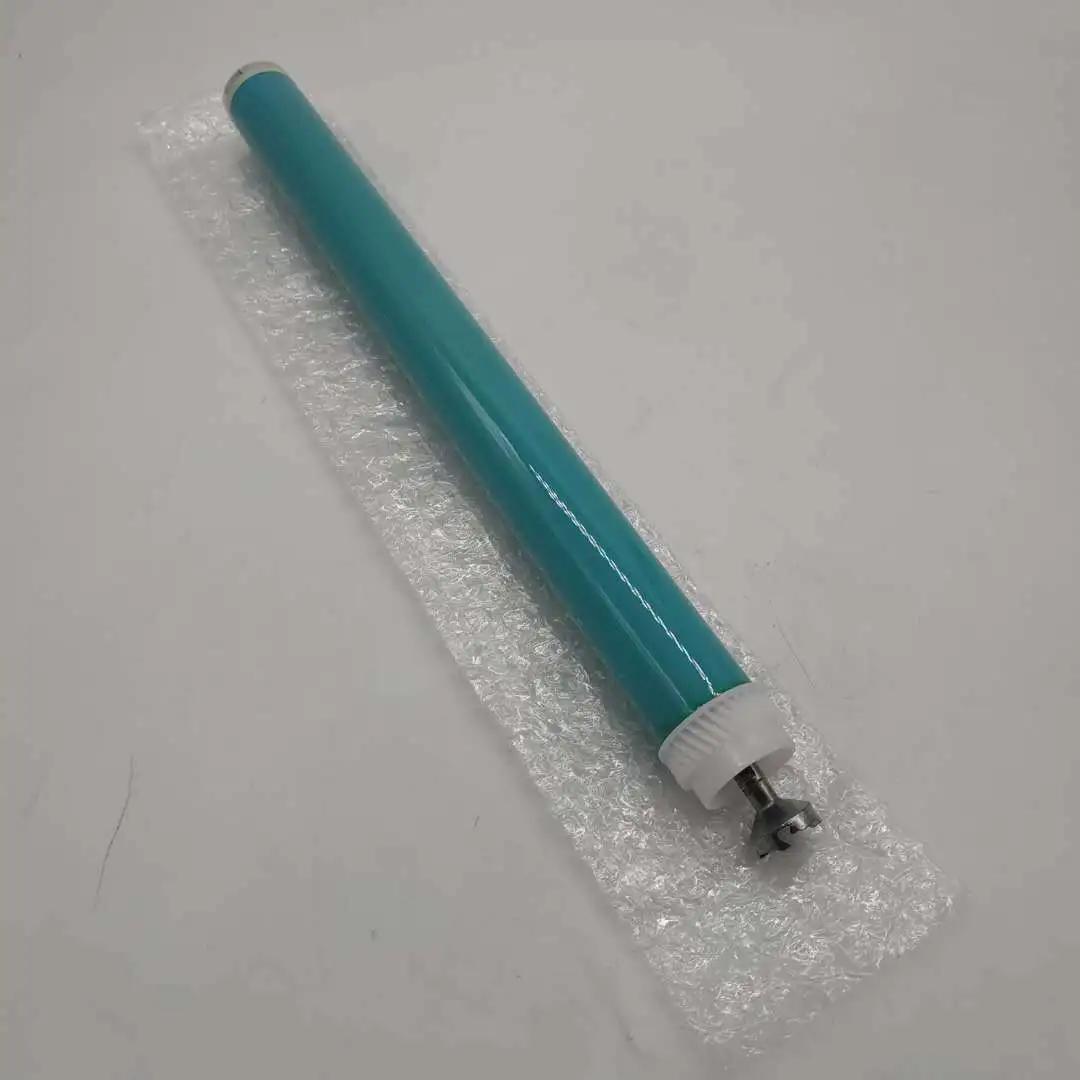
Step 5: Install the New Drum Unit
Take the new drum unit out of its packaging and remove any protective covers or tapes. Hold the new drum unit by its handles and align it with the printer's drum unit cavity. Gently slide the drum unit into place until it clicks securely into position.
Step 6: Reinstall the Toner Cartridge
Now it's time to reinstall the toner cartridge. Take the toner cartridge and align it with the drum unit. Insert the toner cartridge into the drum unit and push it down until it clicks into place.

Step 7: Close the Printer
Once the drum unit and toner cartridge are securely in place, it's time to close the printer. Close the printer's front cover and make sure it locks into place.
Reconnect the power cord and turn on the printer. The Hewlett Packard Pro 400 M425dn printer will recognize the new drum unit, and you should be ready to start printing with improved quality.
Replacing the drum unit in your Hewlett Packard Pro 400 M425dn printer is a straightforward process that can help restore print quality and performance. Remember to use a genuine or high-quality compatible drum unit for the best results. By following the steps outlined in this guide, you can ensure a successful drum replacement and continue enjoying crisp and clear prints.