
Connecting your HP MFP (Multifunction Printer) is essential to ensure seamless printing, scanning, and copying capabilities. Hewlett Packard (HP) is a renowned brand known for its high-quality printers and multifunction devices. In this article, we will guide you through the process of connecting your HP MFP.
Step 1: Unboxing and Setup
The first step is to unbox your HP MFP and set it up properly. Follow the instructions provided in the user manual to assemble the printer components correctly. Make sure to remove all the packaging materials, such as tapes and protective covers, from the printer.
Tip: It is recommended to place your HP MFP on a sturdy and flat surface, close to a power source and within range of your wireless network, if applicable.
Step 2: Power Connection
Connect the power cord to your HP MFP and plug it into a power outlet. Ensure that the power source is stable and there are no loose connections.
Step 3: Network Connection
There are different methods to connect your HP MFP to a network, depending on the model and features of your printer:
 Introduction to hewlett packard hp10bii: a powerful financial calculator for professionals
Wired Connection:
If your HP MFP supports wired connectivity, you can connect it directly to your computer or network using an Ethernet cable. Simply plug one end of the cable into the printer and the other end into your computer or network router.
Wireless Connection:
For wireless connectivity, your HP MFP should have built-in Wi-Fi capabilities. Follow these steps to connect your printer to a wireless network:
- On the printer's control panel, navigate to the wireless settings menu.
- Select the option to set up a wireless connection.
- Choose your network from the available list of options.
- Enter the network password if prompted.
- Wait for the printer to establish a connection with the network.
Note: Make sure that your wireless network is stable and has a strong signal to ensure uninterrupted printing.
Step 4: Software Installation
After establishing the network connection, you need to install the necessary software and drivers for your HP MFP. Visit the official HP website and search for your printer model. Download the latest drivers and software compatible with your operating system.
Tip: It is advisable to keep your printer drivers up to date to ensure optimal performance and compatibility with your computer or mobile device.
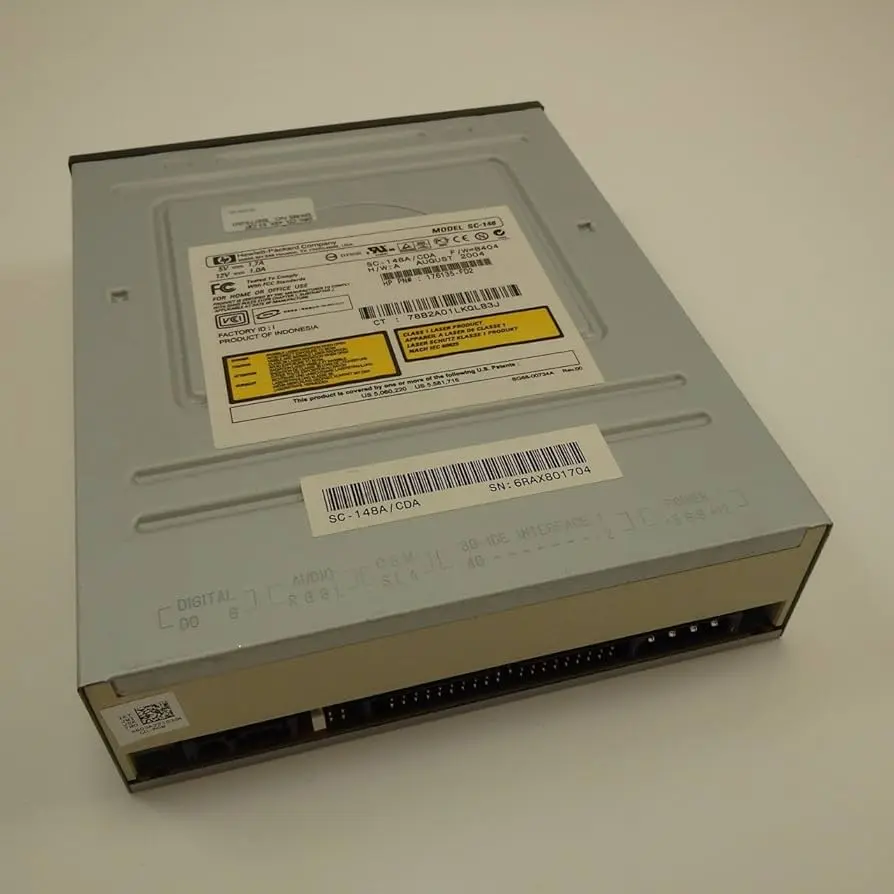 Hp cd drive: troubleshooting & solutions | hewlett packard
Step 5: Testing and Troubleshooting
Once the software installation is complete, perform a test print to check if your HP MFP is working correctly. If you encounter any issues, refer to the user manual or visit the HP support website for troubleshooting guides and .

Q: Can I connect my HP MFP to multiple devices?
A: Yes, most HP MFPs support multiple device connectivity, either through wired or wireless connections. Refer to the user manual for detailed instructions on how to connect multiple devices.
Q: How can I print from my mobile device to an HP MFP?
A: To print from a mobile device, you can use the HP ePrint app or any other compatible printing app. Make sure your HP MFP and mobile device are connected to the same network, and follow the app's instructions to print wirelessly.
Connecting your HP MFP is a simple process that involves unboxing, setting up, establishing a network connection, installing software, and testing. By following the steps outlined in this article, you can easily connect your HP MFP and enjoy its multifunction capabilities.
 Hewlett packard leasing: benefits, flexibility, and cost savings